How To Replace Micro Door Switch On a Microwave
Have you ever experienced your microwave suddenly stop heating? The door is clearly closed, but the start button doesn't respond? These seemingly inexplicable minor problems are actually caused by a faulty microwave door micro switch. So how can you tell if your microwave door switch is broken and how to replace it? This article will detail the process for replacing a microwave door switch and the signs of a malfunctioning switch.
What Is a Microwave Micro Door Switch?
A microwave door micro switch (also known as a micro door switch) is a small electrical switch installed within the microwave oven door control system. It detects the door's open or closed status and controls the appliance's power supply.
When the microwave door is closed, these switches are triggered by the door lock, closing the circuit and starting the heating process. When the door is opened, the micro switch opens the circuit, stopping the microwave and ensuring safety. Most microwave ovens use two or three micro switches working together, rather than a single switch, to provide multiple protections.
This switch typically consists of a spring mechanism, a moving contact, and a stationary contact. Despite its compact size, it must possess high sensitivity, reliability, and a long lifespan. High-quality micro door switches are particularly important in high-current, high-frequency start-stop equipment, such as microwave ovens.

Preparing To Replace a Microwave Door Switch
Before repairing any part of a microwave oven, be sure to perform basic safety precautions to prevent electric shock or damage.
Disconnecting The Power Cord And Discharging The Power Cord Are Crucial.
The first and most important step is to unplug the microwave oven. Microwave ovens contain high-voltage capacitors, and even after power is removed, residual high voltage may remain. Failure to fully discharge the capacitors can result in serious electric shock.
It is recommended to wait 5-10 minutes before performing any repairs. Then, use an insulated screwdriver to gently discharge the capacitors. If you are not familiar with this procedure, consult a qualified professional.
Gather The Necessary Tools
You will need the following tools to disassemble and replace the micro switch:
- Phillips screwdriver
- Flat-blade screwdriver (for prying the latch)
- Multimeter (for checking the switch's continuity)
- Needle-nose pliers (for plugging and unplugging wires)
- A mobile phone or camera (for documenting wiring)
You will also need a replacement micro switch with the same specifications. It is crucial to choose one with matching parameters, voltage, and current (detailed recommendations are provided below).
Identifying The Location And Structure Of The Microwave Door Switch
Most microwave ovens use a three-switch structure in their door control system, typically installed behind the latch board or control panel. Disassembling the microwave door is essential for identification. These three micro-door switches perform the following functions:
Primary Interlock Switch
The primary interlock switch is located along the main path of the door latch mechanism and serves as the direct control point for the microwave's heating circuit. When the door is closed, the primary interlock switch turns on, allowing the microwave circuit to energize and initiate heating. When the door is opened, the primary interlock switch turns off, shutting off the microwave output. It is the most critical electrical switch in the entire control system.
A Monitor Switch
Also known as a "watchdog switch" or "safety interlock switch," it provides a redundant safety mechanism. It's typically designed to forcibly shut off the power supply if the main control switch fails to open properly.
If the main control switch fails to shut off the circuit due to sticking or a malfunction, the monitor switch detects this anomaly and blows the fuse, preventing the microwave from accidentally starting if the door is not securely closed, thereby avoiding microwave leakage or the risk of electric shock.
Secondary Interlock Switch
This switch is often used to detect whether the door is fully closed, control interior lighting, or provide signal feedback. If the door is not fully closed, the secondary switch remains open, causing the system to interpret the door as not securely closed, thus preventing the heating process from starting. While it serves as a secondary switch, it also plays a supporting role in the safety logic.
These three switches are mounted on the same mechanical structure and are triggered sequentially when the door opens and closes. Failure in any of these switches can prevent the microwave oven from starting or pose a safety hazard.
Micro Door Switch Replacement Steps
Disassembly Process
1. Confirm the power is off and discharged.
2. Use a screwdriver to remove the screws on the rear and sides of the microwave oven.
3. Carefully lift the metal casing, taking care not to damage any internal wiring.
4. Locate the door lock mechanism (usually near the control panel next to the door).
5. Use your phone to take photos of each switch's wiring and location to prevent errors during reassembly.
Testing An Old Switch: Identify The Damaged One
Use a multimeter (set to the beep or resistance range) to test each switch:
Touch the probes to the COM (common) and NO (normally open) or NC (normally closed) terminals:
- For a normally open switch: No beep when not pressed, but a beep when pressed.
- For a normally closed switch: A beep when not pressed, but no beep when pressed.
The three switches need to be tested one by one, and cannot be judged by feeling
Installing a New Micro Switch: Matching And Wiring Specifications
1.Remove the damaged switch (disconnect the terminals).
2. When installing a replacement switch, ensure that the new switch matches the old switch in the following aspects:
- Dimensions: Mounting hole spacing and housing length are identical.
- Electrical Parameters: Voltage and current ratings are identical.
- Actuation Type: Normally Open (NO) or Normally Closed (NC) is consistent.
- Pin Type: Typically a three-pin terminal block (COM, NO, NC).
3.Restore the original wiring method according to the photo reference and plug each wire firmly.
Reinstallation and Functional Testing
1. Replace the microwave oven housing and tighten the screws.
2. Plug in the power cord and perform the following functional tests:
- Check that the door closes properly.
- Check that the microwave oven heats normally.
- Check that the turntable rotates.
- Check that the unit stops immediately when the door is opened.
If all of these tests pass, the replacement is successful!
Common Signs Of a Microwave Door Switch Failure
Before a microwave's micro-door switch fails, the following anomalies typically occur:
1. The microwave will not start, even when the door is securely closed.
2. The power suddenly cuts out or stops during heating.
3. The turntable or light continues to operate after the door is opened, indicating the switch is not disconnected.
4. Arcing, sparking, or unusual noises during operation may indicate a short circuit caused by a door control failure.
If you experience any of these issues, it is recommended that you immediately stop the appliance and inspect the switch system. If necessary, consult a professional for repair to avoid safety risks.
How To Choose The Right Microwave Micro Door Switch?
Don't blindly choose a cheap micro switch for your microwave oven, as this can easily lead to further damage or even accidents. The following factors are crucial:
Rated Voltage/Current: Must match the original manufacturer's specifications, such as 250VAC 16A or 20A.
Temperature Rating: Microwave ovens have high internal temperatures, so we recommend models with a temperature resistance of 125°C or higher.
Actuation Force (OP): Should match the original switch. Too light or too heavy a switch may affect synchronization.
Mounting Hole Spacing and Pin Layout: Dimensions must match the original housing and bracket.
Brand and Certification: Prefer reputable brands with UL, ENEC, and CQC certifications.
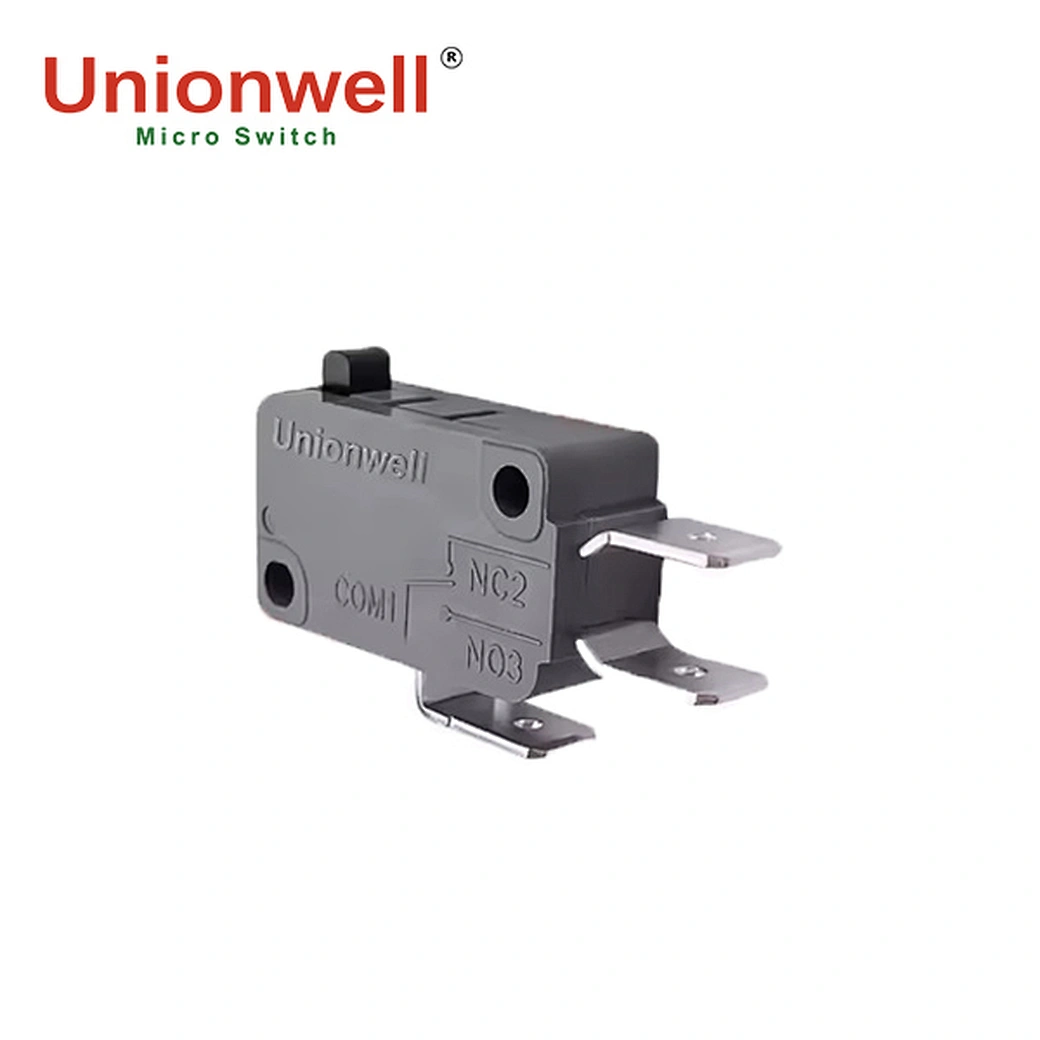
Recommended: Unionwell Microwave Micro Switch
As some traditional brands (such as Panasonic and Omron) gradually exit the home appliance micro switch market, more and more manufacturers are seeking stable and reliable alternatives. Unionwell has been a popular switch supplier for home appliance manufacturers in recent years. Many of Unionwell's models and switch types, especially its microwave micro switches, are perfect replacements for traditional brand switches. Here are some reasons to choose Unionwell:
-Complete Switch Range: A wide variety of switch types are available, making them a perfect replacement for microwave door switches.
-Professional Waterproof Design: Some models feature IP67 sealing to prevent steam corrosion.
-Long-Life Structure: A mechanical lifespan of over 500,000 cycles, providing over 7-8 years of use.
-Various Customizations: Customizable options such as normally open/normally closed logic, terminal orientation, operating force, and lever type are supported, allowing for flexible selection.
-Global Certifications: Products are UL, CE, and CQC certified to meet the requirements of various markets.
Conclusion
The micro switch in a microwave oven door may be small, but it's crucial to the entire device's operation and user safety. This article will help you understand the complete process, from fault diagnosis, tool preparation, location identification, to actual replacement.
As a professional manufacturer of waterproof micro switches, we understand the impact of switch quality on device lifespan and user experience. If you're looking for a stable supply source for replacement parts or require a customized micro switch solution during the R&D phase, Unionwell is the place to go. We'll provide you with professional support and cost-effective products.
Common Failures Of Automotive Micro Switches And How To Prevent Them
You may not know the key role of micro switches in coffee machines!
Related Article